Day One

Goal: Test fish skins from Iceland in the mix with assorted shibori from class and mom's fabric. Expect skins, which have scales and lots of texture, to look great!
Measures 35 x 27 post stitching. I had laid this out thinking of cutting it up and re-collaging it for a bag using a thick layout in the next step and my piece of shibori organza in black/amber as a lining.

.Analysis: 1) don't bother with fish skins. The skins lose their scales in this step and so just look like any other piece of fabric (this close up shows the fish skins in there and you wouldn't know it was anything but a piece of fabric). I can only surmise that the Wet n Gone chemical is to blame, since otherwise it is only water that the piece has been exposed to. Wet N Gone company will not reveal what chemicals are in the soluble stuff, but said it is "environmentally friendly" (I had emailed them after class because it was so gooey when dissolving it I wanted to feel ok about putting it down the drain!)
 Day Two:
 Goal is to test two things: to use a soluble fabric that I can get locally that is neither the Wet N Gone Melissa recommended nor the Solvy , which she advised against. I used a Pellon that is about the same heaviness as the Wet N Gone. It is called Wet N Wash! Secondly, I wanted to test some velvet and velvet burnout (devore) pieces to see how they worked

Analysis:
1)I love the texture of the velvet and the burnout (see close up shot here).
2)The Pellon brand worked great. I can get it locally it will be cheaper using a 50% off coupon from Joann's. And since I am going thru a lot of it, this makes sense.
3) Also learned how much help the gloves are! Finished dimensions of this one are 19 x 22. Lost 1 inch in each direction from layout thru stitching. Think I will cut and re-collage this one for a bag. It definitely needs diagonals - it's very square because I was using up all these little 3" square fabric samples in black and white that some company had sent me once!
 Day Three:
 Testing two things in this sample: working outside my color range (like eating turnip because it's good for you) and to try a different and very consistent motion while stitching. Oh...and to test an unusual iridescent fabric I got at Joann's (second photo showing fabric beneath my finished sample. It is almost like plastic and changes color depending on what angle you are looking at it from . I'm finally catching on - this sample is just 8 x 10!
Analysis -

1) I don't like the consistent stitching - for me the randomness of freeform is more attractive and I didn't really find it any easier to try to repeat the same motion throughout.
2) I still don't like working with blues and pinks!
3) The fabric from Joann's worked great and kept it's iridescence even if you can't tell from my photo.
Day Four: Sampling goal is to work with contrasts, which I love (and feel I deserve after making myself work with the pink/turquoise yesterday!) and also to test a few new fabrics and yarns - nuno felt I cut out of another piece, a cotton boucle yarn that has a lot of texture and a pleated fabric.
Analysis: 1) the boucle cotton yarn caused a lot of thread breakage. Don't use that again!
2) Wish I hadn't used black as my thread.
Will get some colored threads to test next week.
Left photo is layout before stitching, center is closeup post stitching and right hand photo shows stitched piece with the cotton boucle yarn, the aqua pleated fabric and the knitted fabric I was experimenting with.
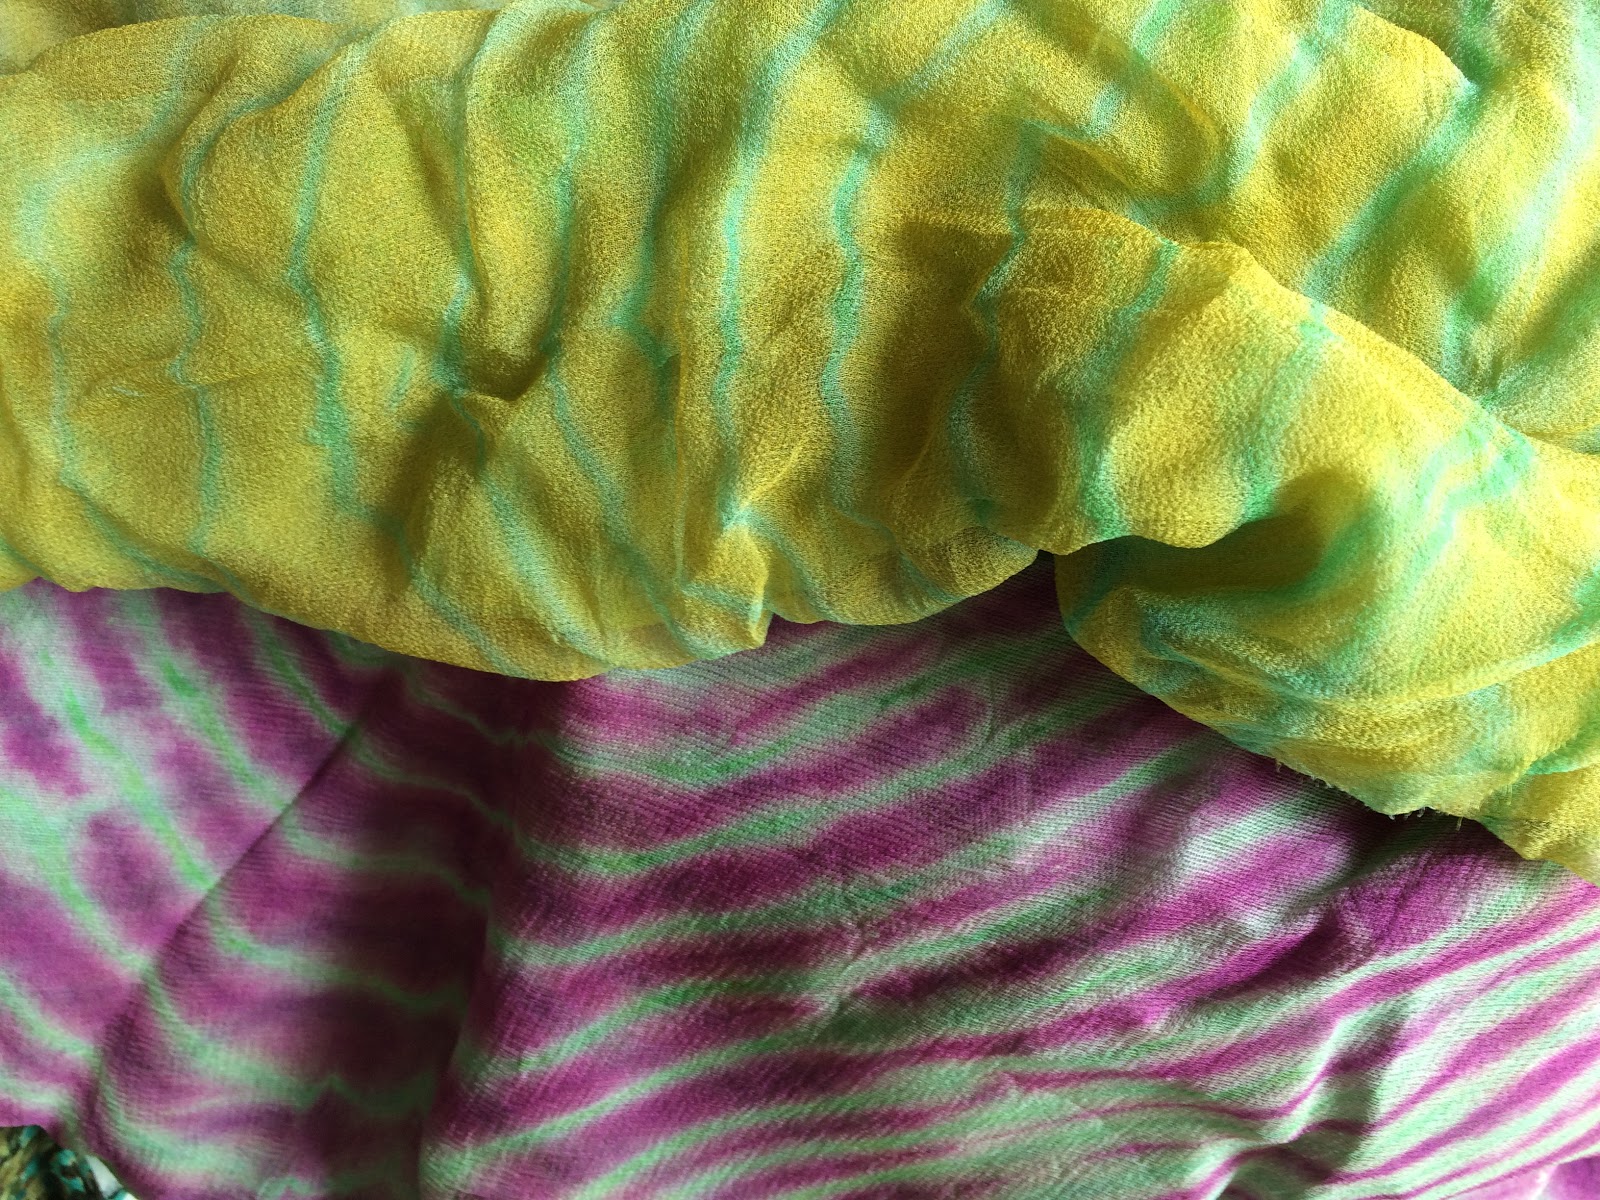
Day Five: Testing a slight variation on the contrasts from yesterday. Today did the same oranges with purples/blue-violets instead of turquoise. Also wanted to see how the rolled edges of silk scarves which I had ripped off of scarf blanks for other nuno projects would look in a collage. And also testing a new plaid fabric Jules shared with me.

Analysis: love the plaid and the torn off rolled edges (see below in gold). They don't add texture like the cotton yarn, but they are a lot faster to sew thru!

Photo left shows layout before stitching.
Photo right shows fabric after stitching and with a piece of the plaid beside it


 I've shown the hat here with the re-collaged hat band as well as with the satin ribbon I think I like better! I love the re-collaged hat band - but somehow not for this style hat. So I think I'm going to settle on the satin ribbon I pleated and then felt another hat (I have some Finn ready to go) for the re-collaged hat band. If anyone has any opinion , I'm glad of it!


 My next finished piece is this clutch/bag. Well, it is almost finished! I'm going to the opening of the VT Quilt Fest tonight and hoping someone there (there usually are some bag vendors) is selling metal straps so I can finish this (I envision this as a cross shoulder bag and don't like the idea of leather or fabric for this bag). This bag was felted from an original collage (i.e. I did not cut it up and re-collage it). I had loved the sample just as it was and it was the perfect size to felt down and have the perfect dimensions for a simple tri-fold clutch. Wish I hadn't used a flash for these pics since the colors are actually much deeper/darker than shown here - front and back of the bag pictured in that order. It's too bad since the colors are really rich - you know, the way I like them - very saturated and the photo doesnt' convey that.


 Off to NYC for the weekend


 Goal: Test fish skins from Iceland in the mix with assorted shibori from class and mom's fabric. Expect skins, which have scales and lots of texture, to look great!
 .Analysis: 1) don't bother with fish skins. The skins lose their scales in this step and so just look like any other piece of fabric (this close up shows the fish skins in there and you wouldn't know it was anything but a piece of fabric). I can only surmise that the Wet n Gone chemical is to blame, since otherwise it is only water that the piece has been exposed to. Wet N Gone company will not reveal what chemicals are in the soluble stuff, but said it is "environmentally friendly" (I had emailed them after class because it was so gooey when dissolving it I wanted to feel ok about putting it down the drain!)
 Day Two: Goal is to test two things: to use a soluble fabric that I can get locally that is neither the Wet N Gone Melissa recommended nor the Solvy , which she advised against. I used a Pellon that is about the same heaviness as the Wet N Gone. It is called Wet N Wash! Secondly, I wanted to test some velvet and velvet burnout (devore) pieces to see how they worked
  Analysis:
  Day Three: Testing two things in this sample: working outside my color range (like eating turnip because it's good for you) and to try a different and very consistent motion while stitching. Oh...and to test an unusual iridescent fabric I got at Joann's (second photo showing fabric beneath my finished sample. It is almost like plastic and changes color depending on what angle you are looking at it from . I'm finally catching on - this sample is just 8 x 10!
 1) I don't like the consistent stitching - for me the randomness of freeform is more attractive and I didn't really find it any easier to try to repeat the same motion throughout.


 Analysis: love the plaid and the torn off rolled edges (see below in gold). They don't add texture like the cotton yarn, but they are a lot faster to sew thru!
 Photo left shows layout before stitching.

 Close up showing the gold edges of a rolled silk scarf worked in.